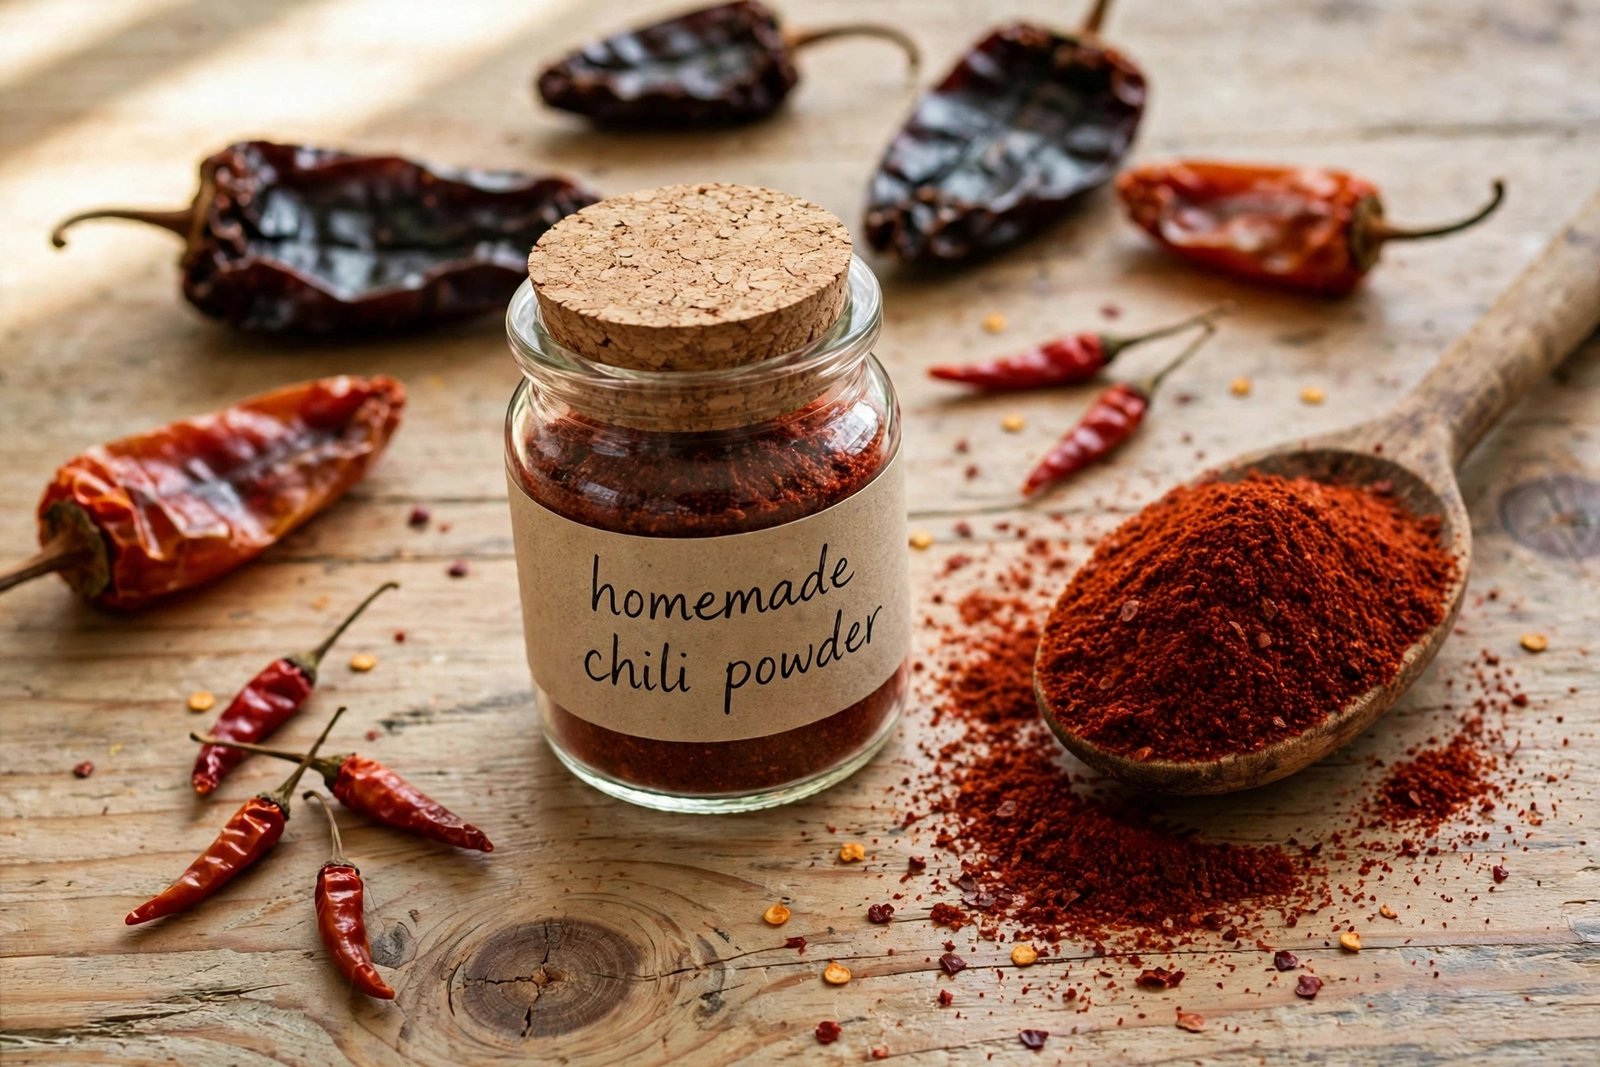
Knowing how to make your own chili powder will transform the taste of that jar sitting in your cupboard. Store bought versions are often left on the shelf for months if not years. This leads to a lack of colour, aroma and simply a bland taste. Using just a handful of dried chiles and a few minutes of grinding will create a rich, smoky and deliciously fragrant powder that will fill your kitchen.
In this guide you’ll discover what dried chiles to use and how to choose quality ones from the shop. Then I’ll show you how to toast, dry and grind them using either your oven or dehydrator. You’ll also find out how to take basic ground chiles and create a traditional mix with cumin and garlic. Finally I’ll show you how to fix bitter or grainy chili powder and how to store it best.
What Makes Homemade Chili Powder Better Than Store-Bought?
Most commercial chili powders are mixed, with ground peppers, plus some cumin, garlic powder, oregano and often salt. Whilst it’s convenient, you won’t be able to adjust the ratio of ingredients. The ground spices will have lost a lot of their kick whilst on the shelf and there’ll be very little scent left in the jar when you open it.
By making it yourself you can choose how hot, sweet and smoky your chilies are. As they’re freshly ground they retain their natural oils and scent meaning a little goes a long way. You’ll also know exactly what’s in your jar with no fillers or added salt. For most home cooks this would be reason enough to give it a go!
Best Dried Peppers for Homemade Chili Powder
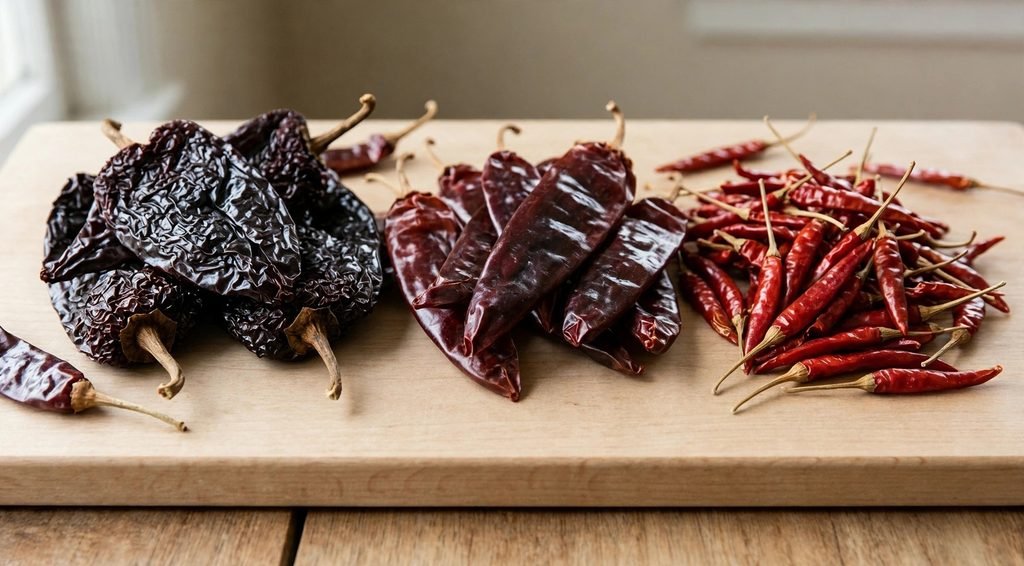
When choosing the best dried chillies for chili powder consider what flavor you wish to create. Some will add sweetness and depth of raisin, while others have a clean peppery note. Most chefs will achieve the best results using a combination of two or three varieties. Start by using about three parts mild chillies to every one part of hot chillies, once you’ve made your first batch you can adjust the ratio accordingly.
Mild and Fruity Chiles (Ancho, Guajillo)
Ancho peppers are dried poblanos. They have a mildly sweet taste like a dried fruit. They are good at being a base as they add some depth and colour but aren’t very spicy. Guajillo peppers have a little more flavour. They have a tart sweet berry taste and a mild spiciness. Together they provide a mild balanced powder. This will be similar to what you might find in a traditional jar. Use about 3/4 of this in you recipe.
Medium to Hot Chiles (Chile de Árbol, Cayenne)
Chile de árbol is your best bet. They are skinny red pods with a lot of punch. Start by adding only a little bit. Cayenne pepper will also work well. It also has a clean taste. If you love spicy food add 1/3 part of the chile de arbol (or cayenne) to every 3 parts of milder chile. If not keep it light and then next time try adjusting according to how the powder tastes.
How to Pick Quality Dried Chiles
Start with quality chilies. Check their quality by looking for supple pods with a slight leathery feel. They shouldn’t be brittle or dusty. If they are supple and spring back then they are fresh. Ancho chilies should have a dark red/brown color, whereas guajillo should be a rich red. Dried chilies with a pale color and cracked skin will result in a poor and bitter powder.
Mexican grocery stores and the international section of a larger supermarket will usually give you the best selection of quality for a reasonable price. Packed chilies from a busy store will usually have more freshness than smaller jars that have been sitting on the shelves for ages. Check the chilies in the pack for any musty odors. Don’t buy any that seem damp. Only buy what you will need within a few months as they will slowly lose their colour when dried.
Tools You’ll Need Before You Start
No specialist equipment is required. All you need is a baking tray and your oven (or a dehydrator if you have one). To grind the chiles to a fine powder, it’s best to use a clean electric spice/coffee grinder. If you need to make larger amounts, using a high speed blender is great, but the powder won’t be quite as fine. Either way, it’s best to do it in small batches.
Some small additional items will make things easier and safer. Disposable gloves are a must whilst cutting and seeding the chiles. The oil can cause irritation to your skin for hours. A fine mesh sieve will help remove any hard pieces of skin. A small bowl will help with keeping the seeds and stems separate. An airtight glass jar will keep the chile powder fresh. Finally, open the lid of the grinder slowly as the fine powder can cause coughing.
How to Make Chili Powder From Dried Peppers, Step by Step
To make your own chili powder from dried peppers, you need to do three things: prepare and lightly toast the chiles, dry them to a crisp and finally grind and sieve them. Overall it’s quite quick to do and only takes around 30 minutes. Most of this will be waiting for things to dry. There are a few tips to keep the chili powder tasting nice and not bitter.
Prep and Toast the Chiles
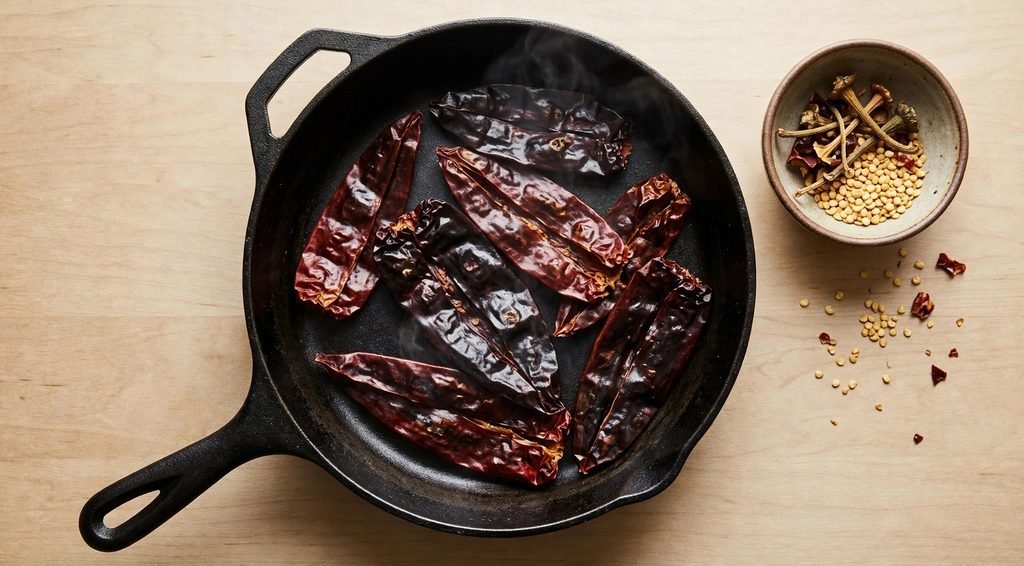
Put the gloves on, snip off the stalks, and cut each chile open to remove the seeds. The seeds and white stalks will give a bitter taste so discard most of them. Flatten out the pieces and cook in a dry pan over a medium heat for around 20 seconds on each side. You want them to be smelling nice and toasty and sweet. If they start smoking or turning brown, remove immediately as burnt chiles are bitter.
Dry Them in the Oven or Dehydrator
The majority of store-bought dried chilies are pretty dry but you can make them crispy by baking them in the oven. Spread them out on a baking tray and bake at 250F for 10-15 minutes. Be careful not to burn them, as thin chilies will burn quickly. If you have a dehydrator then you can keep things nice and gentle and set the temperature to around 135F. Check after an hour or two. They will be ready when they snap rather than bend.
Grind and Sift the Powder
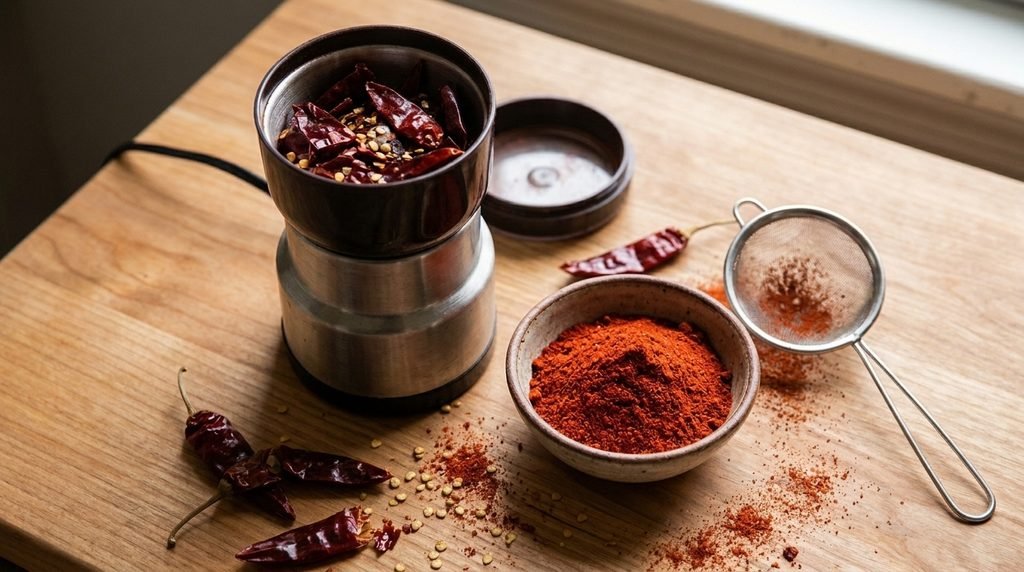
Before grinding the chiles, allow them to cool completely. If they’re still warm, they will become sticky. Place a small amount of chiles into your spice grinder and process for a few seconds at a time. After you’ve finished processing, wait a few seconds for the powder to settle then remove the lid. Sieve the powder into a fine mesh sieve then add any large pieces back into your spice grinder and grind again. Repeat with the next batch.
How to Turn Ground Chiles Into a Classic Chili Powder Blend
All you have to do now is make a pure ground chilli. This can easily be replicated from the jar found in shops. Simply measure out 1/4 cup of your ground chillies and add 2 teaspoons of ground cumin, 2 teaspoons of garlic powder, 1 teaspoon ground oregano and 1 teaspoon onion powder. Stir together until fully combined.
Now taste and adjust accordingly. If you want a smokier version add in 1/2 teaspoon of smoked paprika. Or if you want it to be heartier add a little extra cumin. As this chilli has no salt you can season each dish to your liking. It can be used as a 1:1 replacement for recipes asking for chilli powder. However, as it is pure chilli it is quite strong. So only use around half as much.
Fixing Bitter, Gritty, or Weak Chili Powder
The most common issue is bitterness. This is likely to be caused by burnt chillies or seeds. Try not to toast the chilies as long next time and cut off more of the pale veins. To help with a bitter powder simply mix with some sweeter ground ancho or add a pinch of sugar to your recipe. If the powder is grainy simply sieve the powder and grind up any remaining pieces in the sieve.
If your powder is bland then it is likely that the chiles were old or not stored properly. Fresh supple chiles will give a much more pronounced powder. Lumps mean that there was some moisture in the chiles. This is usually due to the chiles not being completely dry and cool before grinding. Simply use a fork to break the lumps apart and then sieve. Next time ensure the chiles snap easily.
How to Store Homemade Chili Powder
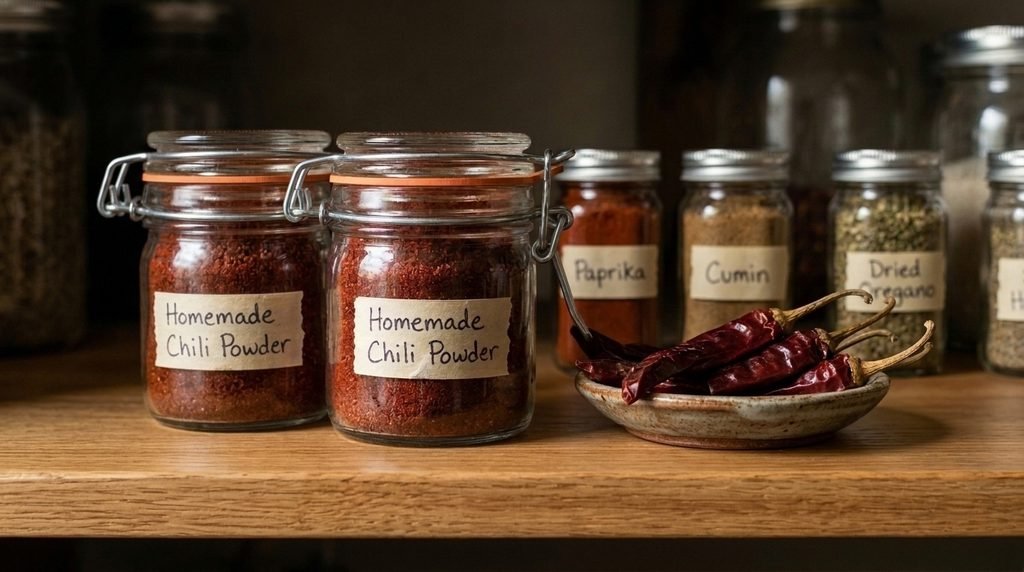
Once you’re powder has cooled you should put it into an airtight glass jar. Keep it in a cool dark cupboard out of the light and heat as powder will lose its flavour. Don’t store it on top of your stove as the steam will make it go off quicker. Glass is best to avoid any smell getting absorbed into the powder and staining. You could write a small label with the date on.
To get the best flavour out of your powder it’s best to use within 6 months. After this time it’s still edible but the flavour will start to fade. If you have made a large amount of powder you can store some in an airtight jar in the freezer. Just keep a small jar topped up. Before using let the jar come back up to room temperature otherwise the moisture can cause the powder to clump. Give it a quick sniff before using in cooking. If it smells rich then it’s fine. If it smells flat or mouldy then it’s time to chuck it in the bin.
Ways to Use Your Homemade Chili Powder
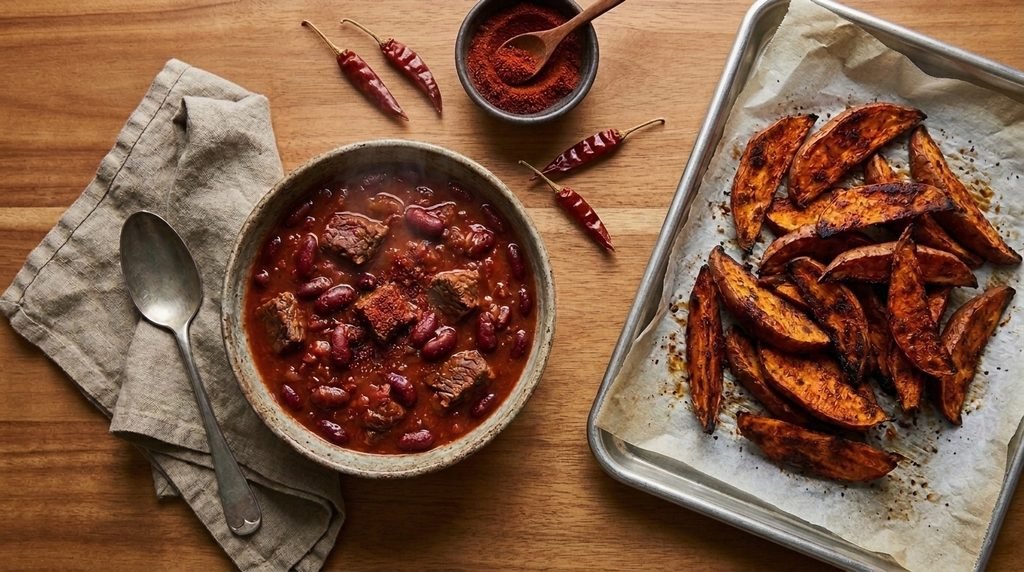
This homemade chili powder can be used in place of store bought versions. Add to your beef or bean chili, or into your taco meat. It’s a great dry rub for chicken, pork ribs or roasted veggies. Try using it to season some sweet potato wedges before popping them in the oven. You’ll notice the difference straight away.
To get the best out of your homemade chili powder there are a few things that can be done. To intensify the flavour, bloom the powder in some hot oil for around 30 seconds. Add a little less than you would normally use as it will be stronger when freshly made. Taste and add more if required. You could also sprinkle the pure ground chile over some popcorn, corn on the cob or scrambled eggs.
FAQs About Making Chili Powder From Dried Peppers
How Do You Make Chili Powder From Dried Peppers?
Remove the stems and most of the seeds. Sauté the chiles in a dry skillet to dry them and toast them. Place in a preheated oven at 250°F, and bake for 10 to 15 minutes, or until brittle. Cool, then grind in a spice grinder. Sieve to remove any hard pieces. To store, put into an airtight jar.
Can I Learn How to Make Chili Powder From Dried Peppers Without an Oven?
Yes. They’re already dried. So just toast them in a dry pan on both sides for around 20 seconds. Then leave them to cool until they’re crispy. Add to your spice grinder as normal. If they’re still pliable then just give them a few extra seconds in the pan.
What Is the Best Chile for Homemade Chili Powder?
Ancho is the most versatile option. It is mild, sweet and flavoursome. It can often be seen with guajillo to give more tang. Add some chile de árbol or cayenne for some spice. A combination of 3 parts mild chile and 1 part hot chile gives a nice balanced medium spice.
Is Chili Powder the Same as Ground Chile?
Not exactly. Ground chile is just ground up dried peppers. The chili powder you can get in the States tends to be mixed with some cumin, garlic powder and oregano. The pure ground chile is much more intense and hot, so reduce by half to equal an equivalent amount of chili powder.
How Long Does Homemade Chili Powder Last?
For the best taste we recommend using within 6 months. Store in an airtight glass jar in a cool dark cupboard. Usually it will still be safe to eat after this point but will lose its aroma and colour. If you want to keep it fresh for longer store any spare powder in a sealed jar in the freezer.
Do You Need to Remove the Seeds Before Grinding?
Discard most of them. They make it bitter and hot with more of a gritty texture. If you remove them you have a more smooth and balanced taste. You can keep in the seeds from a few of the Chiles if you want it to be hotter.
Final Thoughts on Making Chili Powder at Home
Once you know how to make your own chili powder from dried peppers, the jar in your cupboard will start to look rather boring. It’s an easy process; just chop, roast, dry, grind and sieve. Most importantly you can control how spicy, sweet and what goes into your blend.
Get hold of some ancho and guajillo chiles this weekend and make up a small amount. Try it out by adding to a pot of chili. Next time adjust the heat. Once you are happy with the taste, have a go at another pantry staple to build up your range of homemade spices.