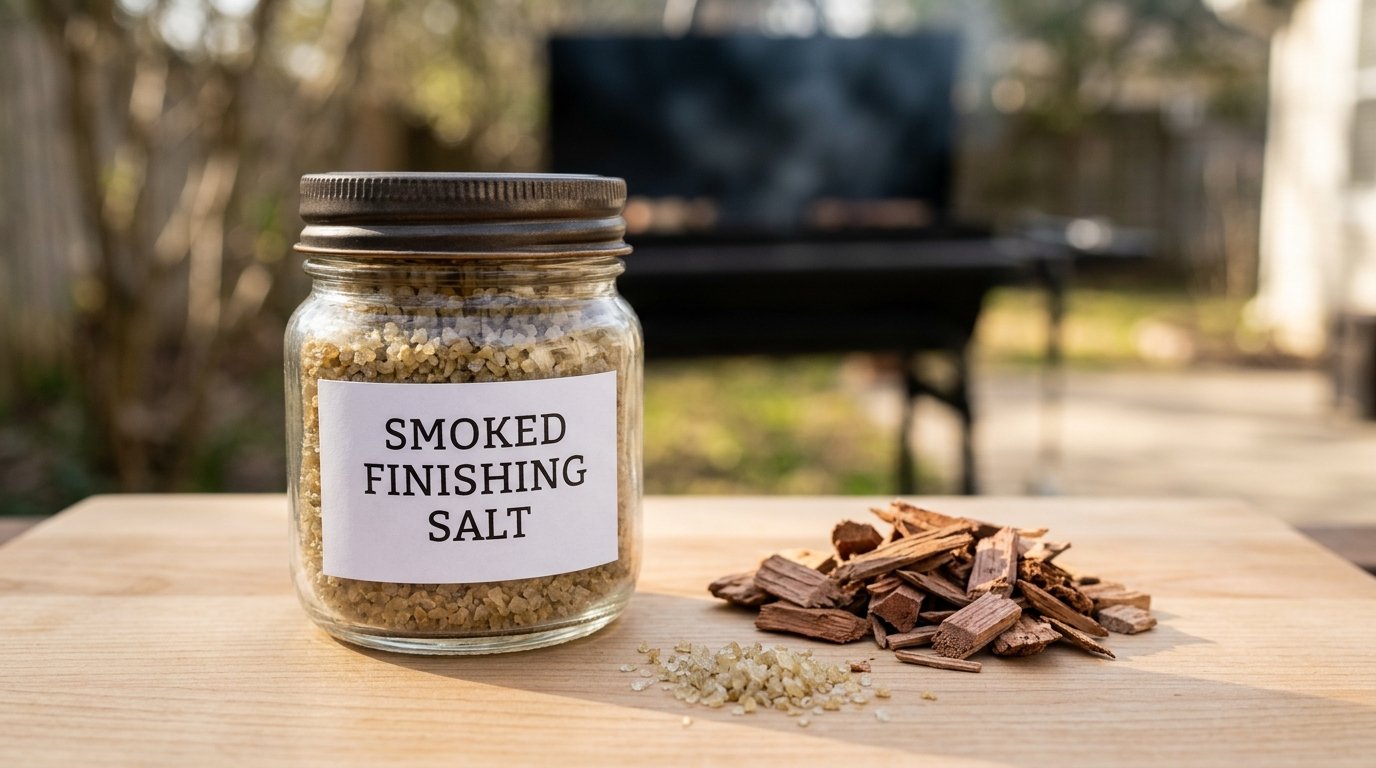
Knowing how to make your own smoked salt will help you avoid the annoyance of paying through the nose for a little jar of salt with just a hint of smoke. Fortunately, you will likely have everything you need on hand. All you’ll need is a grill/smoker, some wood chips and a tray of coarse salt. You’ll also be able to control just how much smoke you want.
This guide takes you through everything you need to know. Firstly, we’ll look at the best types of salt and what kinds of wood to use to give you a subtle or strong flavour. We’ll then show you exactly what you’ll need to do, the temperatures you’ll require and for how long. If you only have a gas grill then we’ve got a method for you too. Finally, we’ll look at common mistakes, simple ways to use it and how to store/give away your salt.
What Makes Smoked Finishing Salt Different?
Smoked salt has been infused with the flavours of wood smoke. Finishing salt is used at the end of cooking and sprinkled over your food just before eating. It gives you a nice texture and smokey flavour. The salt should not dissolve so it should be a coarse salt.
Often regular smoked salt will be added to rubs and marinades meaning it will melt. A good finishing salt will stay on top of your food so you can really taste the smoky salt crystals. This is a great final touch for any food you may have like steak, sliced tomatoes or even a chocolate biscuit. As you only use a little bit of finishing salt you’ll find this goes a long way. Smoked finishing salts are a great thing to have in your kitchen cupboard.
Best Salt for Smoked Finishing Salt
Choosing the right salt will make more difference than most think. The smoke only forms on the outside of each crystal so larger and irregular crystals will give better flavour. Choose plain salt with no other added ingredients. Anti-caking agents can leave a chalky or bitter flavour. Always check the label and avoid any salt containing additional ingredients. Try to find a salt that you would be happy to eat a pinch of.
Flaky Sea Salt vs. Coarse Sea Salt

The easiest option to start with would be coarse sea salt. This will not fall apart easily on the grill, and will absorb the smoke well. Flaky sea salt has nice sharp, pyramidal crystals which look great, but are quite fragile. If your smoker is running quite hot the salt can become powdery or clumpy. Start with the coarse sea salt for your first batch, and experiment with the flaky salt once you get an understanding of how your set-up works.
Why Table Salt and Fine Salt Don’t Work
Not a great option. Table salt has small grains so most of the salt will not be covered by the smoke. It tends to clump together and become a soggy salt cake. Many also have added iodine and anti-caking agents, which can make them quite bitter when smoked. Lastly the small grains mean they will dissolve in your food and there won’t be any crackle!
Best Wood for Smoking Salt

This is what gives a character to your salt. Salt is flavourless so will take on any taste from the smoke. Try using hardwoods designed for cooking. Avoid softwoods such as pine which can leave a smoky resinous taste. You can use chips, chunks or pellets but how much of a flavour you want will be your choice.
Mild Woods for Delicate Flavor (Apple, Cherry, Alder)
Fruits such as apples or cherries provide a mild sweet smoke. This works well with your finishing salts. Alder gives a mild clean taste and traditionally goes well with fish. They’re also gentle and will not overpower delicate ingredients such as eggs, fresh tomatoes or seared scallops. You can also smoke them for longer without the salt becoming bitter. Start here if you are giving them as gifts or just unsure what people will like.
Bold Woods for a Stronger Punch (Hickory, Mesquite)
Hickory is the traditional barbeque flavour most Americans associate with their meat. It pairs perfectly with steaks and burgers. A very hot burning wood with an intense taste. Don’t be tempted to use too much as it can cause the salt to taste bitter. A good tip is to use 50% hickory and 50% apple to get a nice balanced smoke. As with all flavours, use a small amount and always taste the salt before putting into jars.
What You’ll Need to Make Smoked Finishing Salt
There are only a few ingredients needed to make salted wood chips: coarse sea salt and some wood chips/chunks. You’ll need a few tools too: a barbecue, smoker, shallow aluminium tray, oven mitts, something to mix with (a spatula or wooden spoon), and airtight jars. One to two cups of salt will give you a good starting amount.
A few optional items will help you make your salted wood chips smoothly. A shallow tray will help you spread your salt out into a thin layer meaning more salt crystals will be exposed to the smoke. A barbecue thermometer will help you keep the temperature low and consistent. And lastly some parchment paper will help you easily clean up once you tip your salt out to cool.
How to Make Smoked Finishing Salt Step by Step
It’s a simple, largely hands off process. Sprinkle some salt over the tray and cook the smoker on a low heat. Let the salt crystals absorb the smoke. This will take some time so don’t hurry it. The salty flavour doesn’t come through straight away. Most batches will need about 2 hours of smoking. Below is how to do it step by step.
Prep the Salt and Your Smoker
Preheat your smoker or grill to around 225 degrees. While you do this, scatter your coarse sea salt into a shallow aluminium tray. This should be spread out into a thin layer. No more than half an inch deep. This will mean that plenty of salt crystals will be exposed to the smoke. Throw in your wood chips and wait for a light blue smoke to start to come out. The thick white smoke will taste bitter so wait for it to subside.
Smoke Time and Temperature

Place the pan on the grates and close the lid. Cook the salt at around 200-225°F for 2 hours. Stir the salt every 30 minutes so that all of the crystals come up to the top. The salt should start to take on a pale tan or grey colour. If you want extra flavour let it cook for a little while longer. Taste as you go. When it has taken on a smoky flavour and some toasting notes it is ready!
Cool, Break Up, and Jar the Salt

Carefully remove the pan from the heat and allow the salt to cool completely (about 1 hour). Smoked salt will be a little damp so use a fork to loosen any lumps. If the salt is still damp spread across some parchment paper and leave to dry overnight. Once dry transfer to a clean dry glass jar and seal tightly. Leave to rest for a couple of days before using to allow the flavour to mellow and even out.
Can You Make Smoked Finishing Salt on a Gas Grill or Without a Smoker?
Yes! The easiest way to do this is to use a gas grill with indirect heat. Turn one burner on low, place your salt pan on the low side. Place some wood chips in a piece of foil and make a few holes in the top. Place this on top of the burner. Close the lid and cook at 200-225F.
If you don’t have a grill then you can still achieve a light smoky flavour. Using a stovetop smoker or putting a pan of wood chips with a lid on the stove and placing the salt pan on a rack above them will work. This is a bit of a short cut but won’t give as much flavour as using a proper grill. Don’t forget to turn your vent fan on and leave a window open as smoke will build up very quickly indoors.
Common Smoked Salt Mistakes (and Easy Fixes)
There are a few pitfalls to even the simplest of recipes. Too much smoke can be an issue. If your salt tastes bitter or ash then your fire was probably producing lots of heavy white smoke, or you were using a strong wood such as mesquite. Try waiting until you have a light blue flame and mixing in a less strong wood next time. Alternatively, smoke the salt for longer.
If the salt has a bland taste then you need to smoke it for longer or do a second batch with fresh chips.
Salt clumping can be quite a common problem. This will often happen if your salt layer was too thick, or your salt was very fine, or it had cooled in a damp place. Simply use a fork to break it up, dry on some parchment paper and keep the salt layer thinner next time. Never put warm salt in a jar as it will create a solid lump due to the trapped moisture. If the salt is still clumping together after a few days then spread it out and dry it again.
How to Use Smoked Finishing Salt

I like to use the smoked finishing salt at the end when serving. This means you get to enjoy crunchy salt! Try using on your grilled steak, burgers and roasted potatoes. A pinch of salt works great on fried eggs, avocado toast and summer tomato slices. As a little goes a long way, just add a little at first.
It works very well on sweet foods too! Sprinkle over your chocolate chip cookies, caramel, brownies or vanilla ice cream. The smokey salt really adds something unexpected to your sweet treats. The salt can be used to rim your margaritas or Bloody Marys. Just avoid using it if you are cooking with salt. The salt will melt when cooked.
How to Store and Gift Your Smoked Salt

It’s easy to store. We just keep ours in an air tight jar. Put it in a cool dark cupboard, away from the stove. If you make sure you never get any moisture in it by using a dry spoon every time you’ll be fine. Salt doesn’t go off but the smoky smell will fade over time. Try to use it within one year to get the best taste.
This makes a great gift. Put into little jars, tie with a ribbon and write a little note saying what type of wood you used and the date you made it. Then pair it up with a nice steak or some potatoes and you’ve got a complete gift. As we only make small amounts, you can make a few different types of salt. Apple smoked and hickory smoked. Let your friends choose their favourite!
FAQs About Smoked Finishing Salt
How Long Does It Take to Make Smoked Finishing Salt?
It will take about three to four hours overall. The smoker will take 20 to 30 minutes to warm up, then about two hours smoking time followed by one hour cooling down. Leave for a day or two to let the flavours really develop into a nice even taste.
Can You Use Table Salt for Smoked Salt?
Not a great idea. The salt is densely packed meaning only very few of the grains will be exposed to smoke. It can often create a moist clump. Many brands also add iodine or anti-caking agents which give a bitter taste. Use plain grainy sea salt to give a nice crisp salty finish.
What Is the Best Wood for Smoked Salt?
These are mild smoky flavours. Apple and cherry are slightly sugary and will work well with most foods. Hickory has a classic BBQ flavour. Mesquite is very strong so only use small amounts. To start with you can use a 50/50 mix of hickory and apple. Don’t use any softwoods like pine. Only use cooking hardwoods.
How Long Does Homemade Smoked Salt Last?
Salt does not go off but will lose its smoky taste. If stored in a sealed glass jar in a cold, dark cupboard it will taste best within about 1 year. Keep it dry, using a clean spoon to avoid it becoming lumpy. It is still good to use if it loses its fragrance.
Can You Make Smoked Salt in an Oven?
Not really. There’s no source of smoke for the salt to absorb any smoky flavour. A gas barbecue with some wood chips in a foil packet will work much better. If you can only cook indoors then a stove top smoker will work, just make sure the kitchen is well ventilated.
What’s the Difference Between Smoked Salt and Liquid Smoke?
Smoked salt is wood smoke that has been absorbed into the salt so it can be used as a crispy finish. Liquid smoke is a concentrated seasoning which can be added to sauces, marinades and rubs. As you will not get the texture it cannot be used as a finishing salt.
Final Thoughts on Making Smoked Finishing Salt
The cost of smoked salt at stores can be pretty high, but now you know how to make your own smoked finishing salt! Simply grab some coarse sea salt, some hardwood chips and leave your salt to smoke for a couple of hours on a low temperature. You want a light smoke and a thin layer of salt to ensure every batch you make is crispy and full of flavour.
If you’re feeling adventurous, why not try making some this weekend on your grill. Sprinkle over your next steak/cookie and let us know what type of wood you used in the comments below!